Peanut Butter Butterfinger Cookies

2013-11-17 004

A couple of months ago I went to this event at the San Diego Public Market called Cake Bake 2013.  It was a fundraiser to benefit No Kid Hungry.  There were booths featuring sweets for sampling from some of San Diego’s best bakers.  They had a Bake Sale and a Cake Walk (y’know, you’d think I would’ve learned…I never won a single thing in any cake walk at any of those Halloween carnivals when I was in elementary school and my luck didn’t change now.  Oh well, it was for a good cause). 

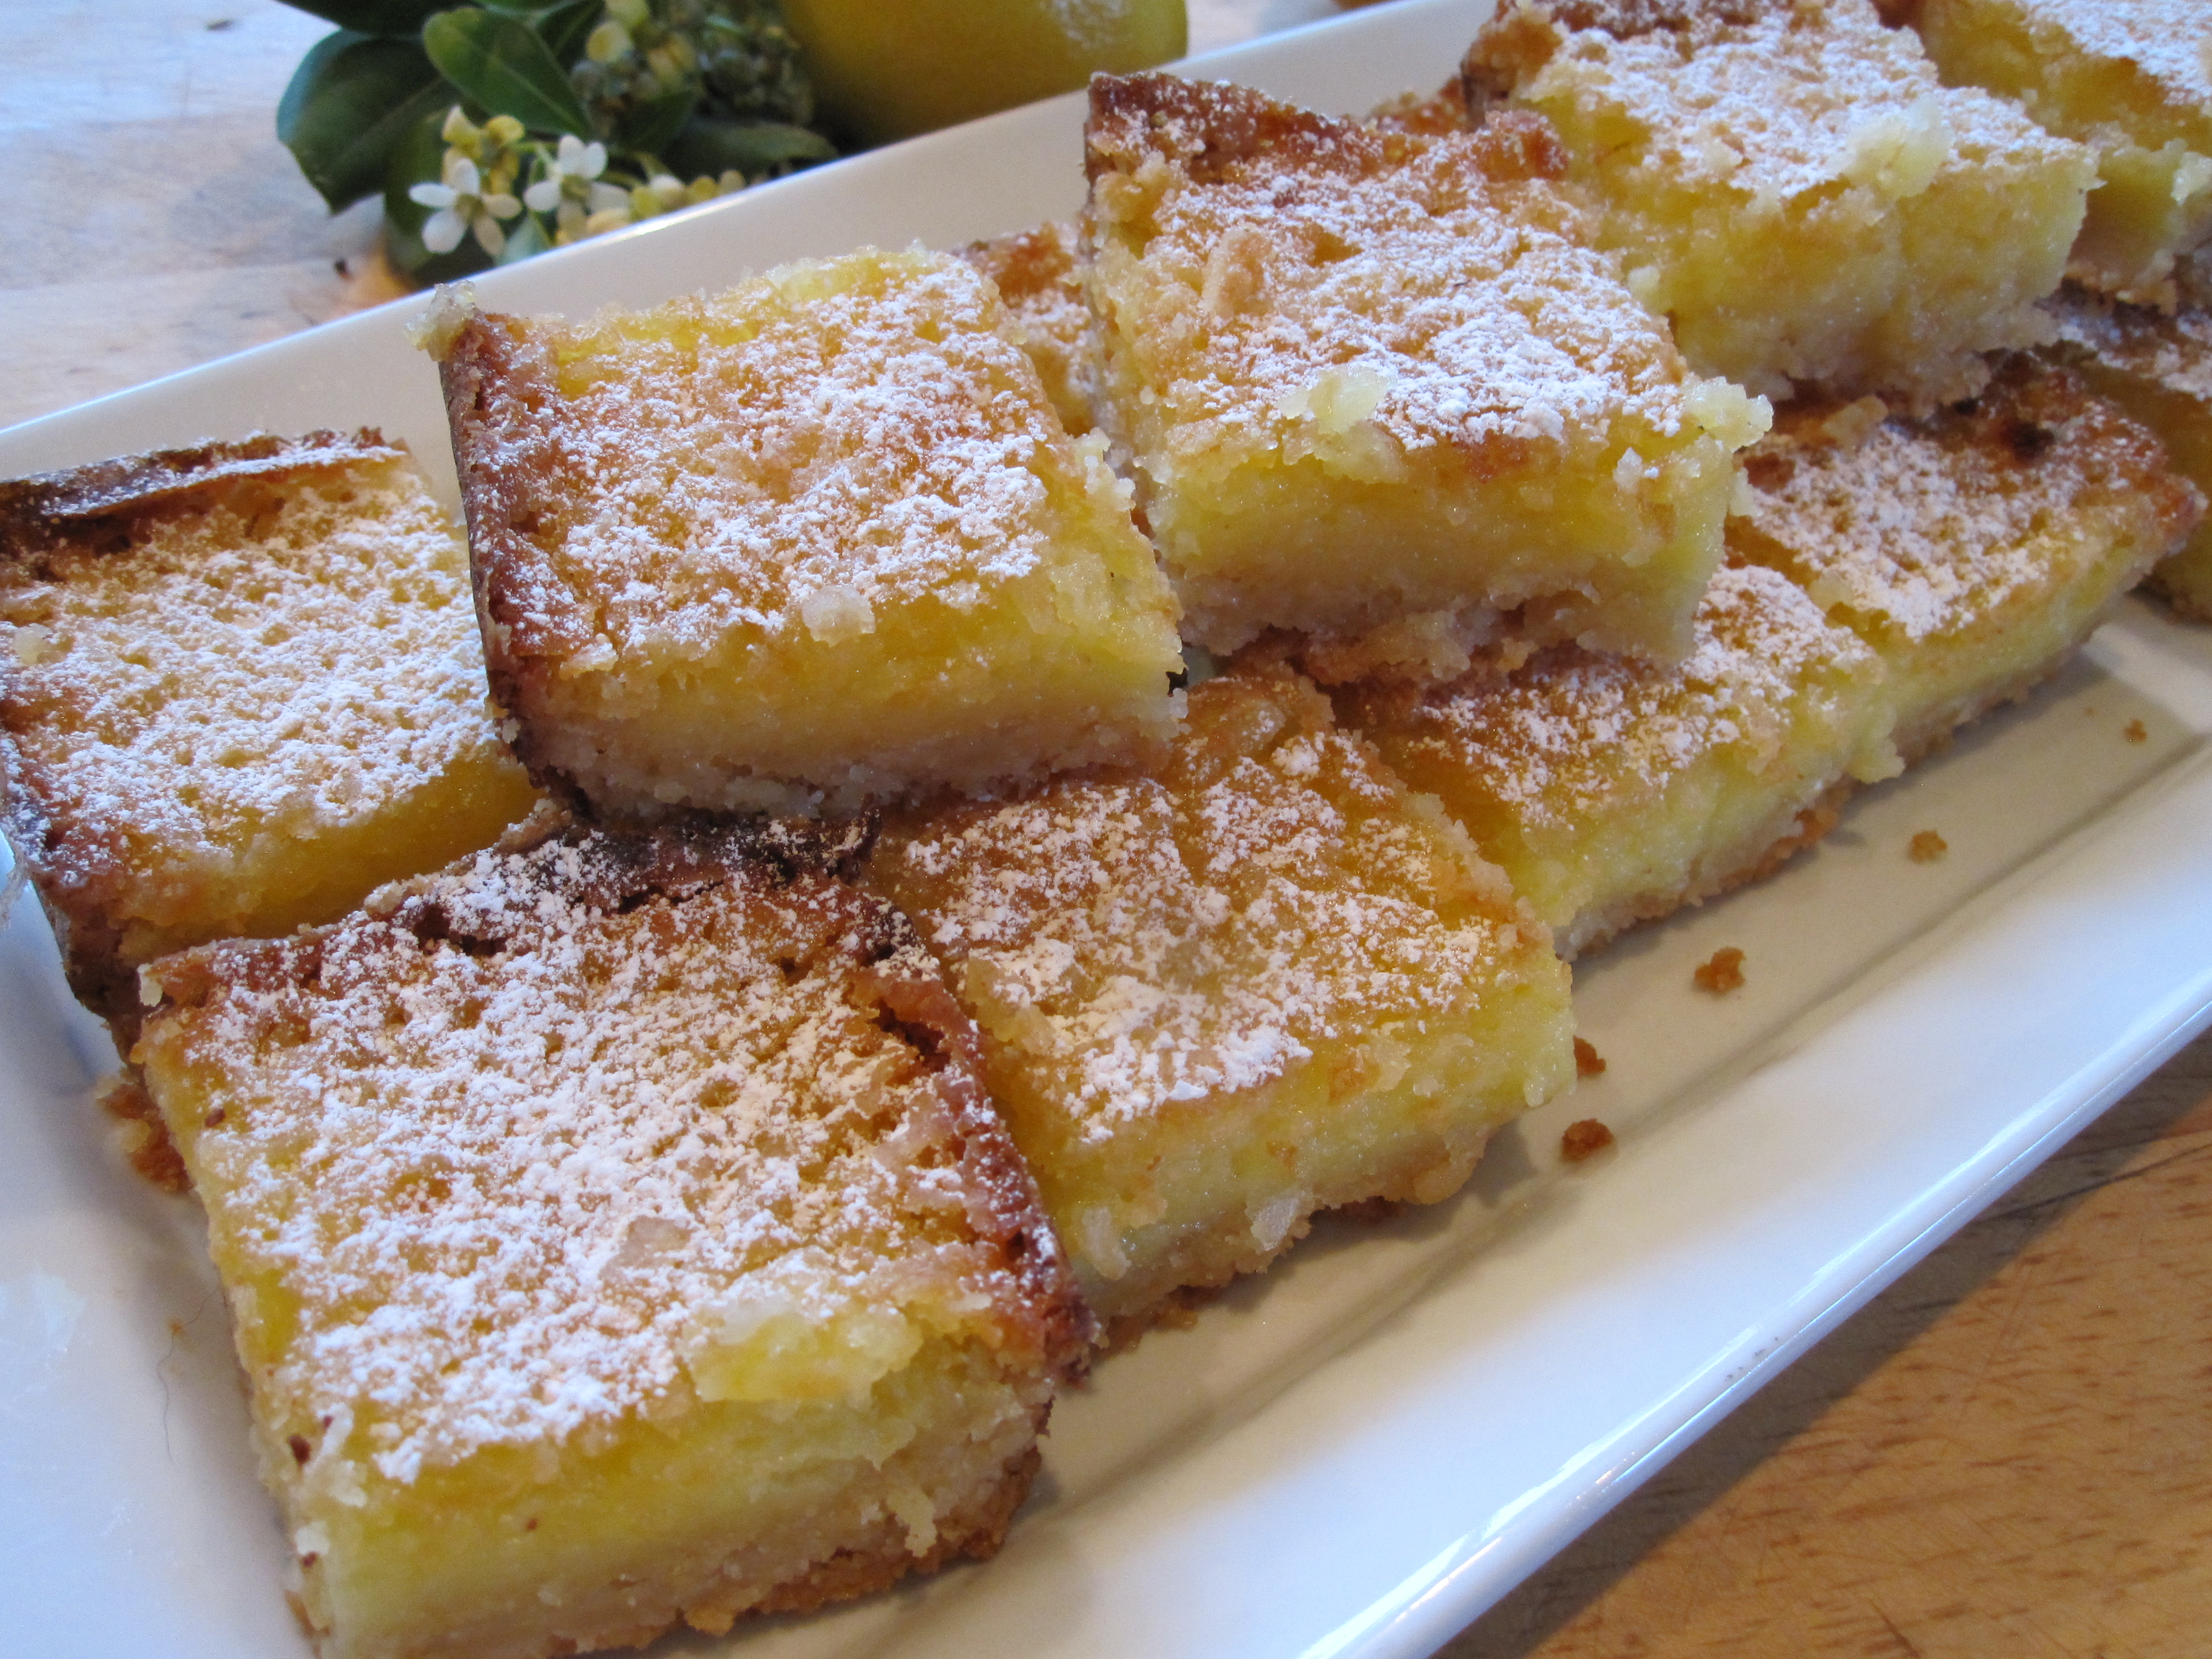
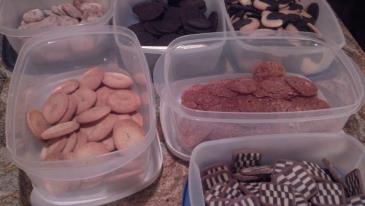
I discovered two really wonderful bakers that I hadn’t heard of.  Under the Crust…Hannah makes adorable and delicious “sweet & savory handcrafted mini pies” and sells them out of converted vintage pick up truck.  And The Cravory…really yummy cookies that you can actually have delivered to your home!  I, of course, left will a half dozen cookies…among them Lemon Bar, Ultimate Chocolate Chip, Rosemary Balsamic and a couple of their “Flavors of the Month”.  My very favorite was the PB Butterfinger…a peanut butter cookie with Butterfingers and Reese’s Peanut Butter Cups.  Holy Moly.

So, Halloween rolls around and I buy Reese’s, Snickers and Butterfingers (so what if I happen to buy my favorite candies??) to hand out to our trick-or-treaters. Well, the peanut butter cups were the first to go, but we did have a few leftover Snickers and Butterfingers, so I decided I’d use the Butterfingers to make my own Cravory-inspired cookies.  I spent a fair bit of time online trying to find a recipe for a peanut butter cookie with Butterfingers.  There were plenty of just regular chocolate chip variety recipes, but not many with peanut butter cookie dough (not sure why I didn’t just look in my favorite Dorie Greenspan Baking cookbook and use her peanut butter cookie recipe, but I didn’t think of it until the cookies were in the oven!  Sorry Dorie.)

1425761_606624326070801_1980419434_n

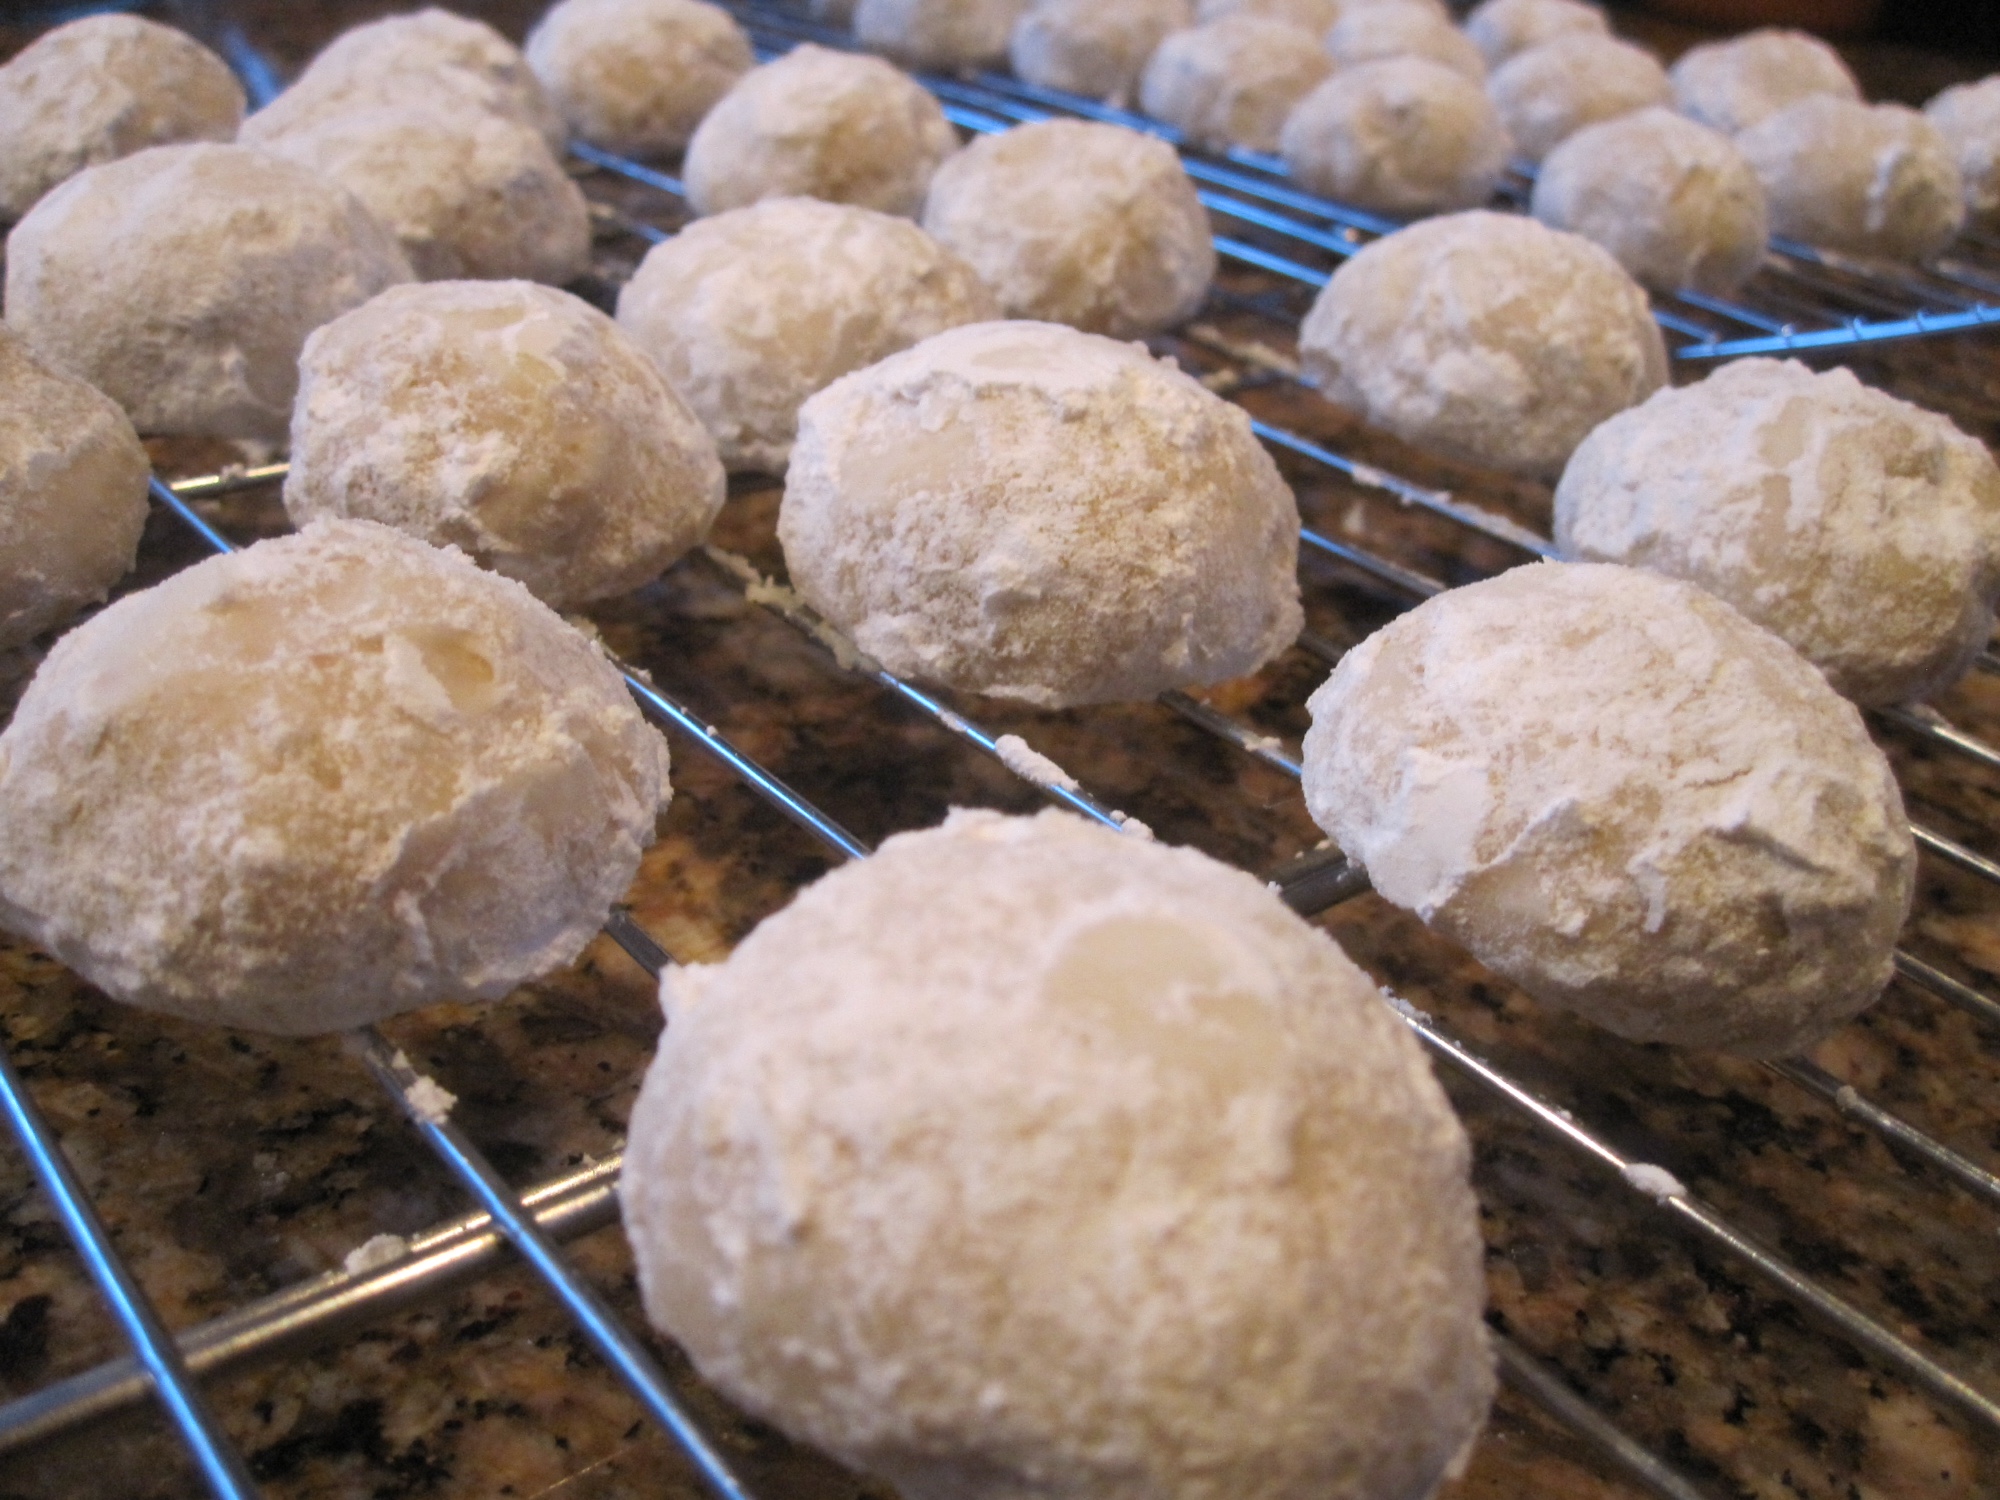
I found this one at My Baking Addiction (I loved the look of the blog…great photos and graphics).  I questioned the use of just egg whites, not whole eggs, but they turned out great.  Really great, in fact.  I really like that they are not too soft, not too hard, just right.  Might be my new favorite cookie (in fact, Tony said they are his new favorite!)

Would they have been better with Reese’s Peanut Butter Cups in them too?  Perhaps.  Next Halloween I’ll make sure to set aside some of those too. 

As Bart Simpson would say, “nobody better lay a finger on my (peanut butter) Butterfinger (cookie)!!”

Peanut Butter Butterfinger Cookies

(adapted from http://www.mybakingaddiction.com)

INGREDIENTS

1/2 cup unsalted butter, softened
3/4 cup white sugar
2/3 cup lightly packed light brown sugar
2 egg whites
1 1/4 cups crunchy peanut butter (I used smooth because that’s what I had in the pantry)
1 1/2 teaspoons pure vanilla extract
1 cup all-purpose flour
1/2 teaspoon baking soda
1/4 teaspoon salt
5 (2.1 ounce) Butterfinger candy bars, chopped (I used about 8 Halloween-sized bars; I think 5 regular-sized would be a lot)

 DIRECTIONS

Preheat oven to 350°. Line baking sheets with parchment paper.

In the bowl of a stand mixer fitted with the paddle attachment or in a large bowl with an electric mixer, cream the butter and sugars together until light and fluffy. Add the egg whites and beat well. Beat in the peanut butter and the vanilla, mixing until well combined.

In a small bowl, combine the flour, baking soda, and salt. Add the dry ingredients into the creamed mixture and mix until just combined. Stir in the chopped candy bars.

Using a medium cookie scoop (about 1 ½ tablespoons) shape dough into balls and place on the prepared baking sheets.

Bake in preheated oven for 10 to 12 minutes or until golden brown. Remove cookies from oven and allow them to cool for about 5 minutes on the cookie sheet before moving them to a cooling rack.

Chunky Peanut Butter Chocolate Chipsters

2013-10-27 008

So I suppose you’ve noticed that I love cookies…home-baked cookies. (I think I might have more cookie recipes posted on this blog than any other category…lol!) And I mean, most any kind of cookies…chocolate chip, shortbread, peanut butter, oatmeal…all of ’em. I think it started with my Gramma Lulu who used to make so many different cookies (oh, and pies, too…pumpkin, mincemeat, apple, “Dream Pie”) during the holidays. I loved her peanut butter cookies with the Hershey’s Kisses in the middle, her chocolate crackle cookies, sugar cookies, but most of all…Snickerdoodles!

Four Generations! Gramma Lulu, my mom, me and my daughter Ally (at Ally's bat mitzvah in 2003)

Four generations! Gramma Lulu, my mom, me and my daughter Ally (at Ally’s bat mitzvah) in 2002. Gramma passed away the following year, at age 93. And believe me, she baked right up until the end!

I’ve mentioned my friend Dale (yes, of Chip and Dale), aka the Cookie Queen, a lot on this blog. She’s a wonderful cook and an amazing baker. She’s always got an assortment of cookies going on at her house. And she gave me my favorite cookbook, Baking: From My Home to Yours, by Dorie Greenspan, which has a plethora of wonderful cookie recipes. I’ve never made a recipe from that book that I haven’t loved and usually it becomes my new favorite…Margarita cookies, Chocoblock cookies, World Peace cookies…and now this one. Chunky Peanut Butter Chocolate Chipsters. They’re like all three of the best cookies baked into one (for when you can’t decide whether you want peanut butter cookies, oatmeal cookies or chocolate chip cookies.). I think Gramma Lulu would like these.

IMG_20131103_083733_039

Just a note – I wasn’t sure if I was going to like the addition of cinnamon and nutmeg with peanut butter, but you know what? It works. I adapted the recipe just slightly, as I didn’t have fresh nutmeg (uh…who does?), so I reduced the amount to 1/8 teaspoon of the ground kind.

Chunky Peanut Butter Chocolate Chipsters

INGREDIENTS

3 cups old fashioned oats
1 cup all purpose flour
1 teaspoon baking soda
2 teaspoons ground cinnamon
1/8 teaspoon ground nutmeg
1/4 tsp salt
2 sticks (8 ounces) unsalted butter, at room temperature
1 cup peanut butter
1 cup sugar
1 cup (packed) light brown sugar
2 large eggs
1 teaspoon pure vanilla extract
9 ounces bittersweet chocolate, chopped into chunks, or 1 1/2 cups store-bought chocolate chips or chunks (I used chocolate chips)

DIRECTIONS

Position the racks to divide the oven into thirds and preheat the oven to 350°. Line two baking sheets with parchment or silicone mats.

Whisk together the oats, flour, baking soda, spices and salt. Working with a stand mixer, preferably fitted with a paddle attachment, or with a hand mixer in a large bowl, beat the butter, peanut butter, sugar and brown sugar on medium speed until smooth and creamy. Add the eggs one at a time, beating for 1 minute after each addition, then beat in the vanilla. Reduce the mixer speed to low and slowly add the dry ingredients, beating only until blended. Mix in the chips.

If you have the time, cover and chill the dough for about 2 hours or for up to one day. (Chilling the dough will give you more evenly shaped cookies.) Note: I only chilled the dough for about half an hour, so didn’t bother with the rolling into balls and flattening…they turned out perfect. If the dough is not chilled, drop rounded tablespoonfuls 2 inches apart onto the baking sheets.

If the dough is chilled, scoop up rounded tablespoons, roll the balls between your palms and place them 2 inches apart on the sheets. Press the chilled balls gently with the heel of your hand until they are about 1/2 inch thick.

Bake for 13 to 15 minutes, rotating the sheets from top to bottom and front to back after 7 minutes. The cookies should be golden and just firm around the edges. Lift the cookies onto cooling racks with a wide metal spatula – they’ll firm as they cool.

Make sure you wait for the baking sheets to cool completely before making the next batch. And I used parchment paper, which I turned over to use the unused side for the second batch.

Espresso-Chocolate Shortbread Cookies

2013-09-01 003

Labor Day we had a few friends over for a barbecue.  (Of course, you knew that already because you read the Pomegranate-Queso Fresco Salsa post, right?  Remember…Rosh Hashanah started just days after Labor Day…I was in barbecue mode, not Jewish holiday mode…remember? Yeah.  Yeah.)  Main course was Sriracha-Glazed Chicken Skewers and Broccoli Slaw.

Well, I really wanted to break out the Kitchenaid ice cream maker attachment and make a new flavor ice cream for dessert.  I looked all through David Lebovitz’s The Perfect Scoop and didn’t see anything that really grabbed me, so I went to old faithful Smitten Kitchen and found Butterscotch Ice Cream.  I had been dreaming about this dessert (Butterscotch Budino from Nostrana) I had in Portland while visiting our son Kyle last year (okay, I dream about that dessert a lot…one of the best things I’ve ever eaten. Seriously.), so I figure I’ll try the ice cream.  It was good (not Butterscotch Budino good, but good).  I served it sprinkled with a few chopped sugared pecans from Trader Joe’s on top and accompanied by Espresso-Chocolate Shortbread Cookies.

Oh yeah, the Espresso-Chocolate Shortbread Cookies.  At the very end of the ice cream recipe, she says, “Note: If you serve with espresso-chocolate shortbread cookies, your friends might never leave. Proceed with caution.”  Okay fine.  Now I gotta make the cookies too.  Well, let’s just say it was a very good decision.  In fact, the cookies received far more kudos than the ice cream!  I mean, I love shortbread cookies anyway, but hat I liked about these is that you can really taste coffee in them.  And with the little bits of dark chocolate?!?  Mmmmm.   Will definitely make these again (even without the Butterscotch Ice Cream)!

Espresso-Chocolate Shortbread Cookies

(SK says these are adapted from Dorie Greenspan’s Baking, of which I am also a huge fan!)

Makes 42 cookies

INGREDIENTS

1 tablespoon instant espresso powder
1 tablespoon boiling water
2 sticks (8 ounces) unsalted butter, at room temperature
2/3 cup confectioners’ sugar
1/2 teaspoon pure vanilla extract
2 cups all-purpose flour
4 ounces bittersweet chocolate (plain, or a toffee variety), finely chopped, or 3/4 cup store-bought mini chocolate chips

Confectioners’ sugar, for dusting (optional)

DIRECTIONS

1. Dissolve the espresso in the boiling water, and set aside to cool to tepid.

2. Working with a stand mixer, preferably fitted with a paddle attachment, or with a hand mixer in a large bowl, beat the butter and confectioners’ sugar together on medium speed for about 3 minutes, until the mixture is very smooth. Beat in the vanilla and espresso, then reduce the mixer speed to low and add the flour, mixing only until it disappears into the dough. Don’t work the dough much once the flour is incorporated. Fold in the chopped chocolate with a sturdy rubber spatula.

3. Using the spatula, transfer the soft, sticky dough to a gallon-size zipper-lock plastic bag. Put the bag on a flat surface, leaving the top open, and roll the dough into a 9 x 10 1/2 inch rectangle that’s 1/4 inch thick. As you roll, turn the bag occasionally and lift the plastic from the dough so it doesn’t cause creases. When you get the right size and thickness, seal the bag, pressing out as much air as possible, and refrigerate the dough for at least 2 hours, or for up to 2 days.

4. Position the racks to divide the oven into thirds and preheat the oven to 325 degrees F. Line two baking sheets with parchment or silicone mats.

5. Put the plastic bag on a cutting board and slit it open. Turn the firm dough out onto the board (discard the bag) and, using a ruler as a guide and a sharp knife, cut the dough into 1 1/2-inch squares. Transfer the squares to the baking sheets and carefully prick each one twice with a fork, gently pushing the tines through the cookies until they hit the sheet.

6. Bake for 18 to 20 minutes, rotating the sheets from top to bottom and front to back at the midway point. The shortbreads will be very pale–they shouldn’t take on much color. Transfer the cookies to a rack.

7. If you’d like, dust the cookies with confectioners’ sugar while they are still hot. Cool the cookies to room temperature before serving.

Lime Shortbread Cookies with White Chocolate and Almonds

2013-06-02 004

The other night our friend Christine invited us to dinner.  Christine is originally from Paris, France and is a wonderful cook (and a lovely person!)  We got to know her through her daughter Elisa, who was a high school friend of our son Kyle.  Elisa, btw, is no slouch in the kitchen either. She has actually studied with Alice Waters (yes, THAT Alice Waters!) and did research for a couple of Michael Pollan (yes, THAT Michael Pollan!) books, including his newly released Cooked (which, btw, I highly recommend.  Such an important message.)  He even thanked her, by name, in his Acknowledgments!  So impressed.

Okay, where was I?  Right. Christine invited us for dinner.  I asked what I could bring.  She said (in her lovely French accent), “I have been dreaming about your white chocolate lime cookies.”  Wow.  Dreaming about them.  Okay then…how could I possibly say no? Decision made.  The cookies are delicious…a light, buttery shortbread with a nice zesty lime flavor, a tiny bit of sweetness from the white chocolate and a crunchy almond topping.

The cookies were a lovely ending to Christine’s exceptional meal which included classic French dishes Salade Lyonnaise and Blanquette de Veau.  Très magnifique!

I’m sharing the recipe for the cookies.  If you want recipes for Salade Lyonnaise and Blanquette de Veau, you’ll have to ask Christine.

Lime Shortbread Cookies with White Chocolate and Almonds

(adapted slightly from Bon Appétit April 2009)

INGREDIENTS

2 cups all purpose flour
1/2 cup powdered sugar
1/2 teaspoon salt
1 cup (2 sticks) chilled unsalted butter, cut into 1/2-inch cubes
3 tablespoons finely grated lime peel (3-4 limes), divided
1 teaspoon lime juice
1 3.5-ounce bar high-quality white chocolate (such as Lindt or Perugina), finely chopped
1/2 cup chopped toasted almonds

DIRECTIONS

Preheat oven to 325°. Butter 13x9x2-inch metal baking pan.

Blend flour, sugar, and salt in processor. Add butter, 2 tablespoons lime peel, and lime juice; process just until blended and dough forms clumps.

Press dough evenly into prepared baking pan. Pierce dough all over with fork. Using sharp knife, cut dough into 12 squares, cutting through dough completely, then cut each square in half on diagonal, forming 24 triangles total.

Bake shortbread until golden brown, crisp around edges, and firm to touch, about 35-40 minutes. Remove from oven. Using sharp knife, immediately recut shortbread, gently separating triangles. Cool shortbread in pan on rack.

Place white chocolate in small metal bowl. Set bowl over small saucepan of gently simmering water and stir just until chocolate is melted and smooth. Remove bowl from over water. Using fork, drizzle melted chocolate in zigzag pattern over shortbread. Sprinkle evenly with almonds and remaining 1 tablespoon lime peel. Let stand until chocolate sets, about 1 hour.  Gently separate into triangles.

Lemon Bars

2013-04-08 005

Lemon tree, oh so pretty

And the lemon flower is sweet.

But the fruit of the poor lemon

Is impossible to eat.

Anybody remember that song?  I do.  And it’s one of those songs that once you’ve got it in your head, it’s stuck there for a long time.  It apparently has been recorded by artists from Peter, Paul and Mary to Bob Marley and the Wailers (and in the 70’s was used in a commercial for Lemon Pledge).  In 1965, Trini Lopez recorded the most successful version of the song.  Okay, so I’m dating myself, but I must be remembering the Trini Lopez version and I was about seven years old.

Anywaaaaay…I am about to prove those lyrics wrong with this recipe for Whole Lemon Bars from the Smitten Kitchen cookbook. Because, indeed, the fruit of the poor lemon is very possible (and even delicious) to eat!

Arnie's Meyers

Arnie’s Meyers

I love lemon bars.  Whenever I’m at some function where there are lots of cookies and brownies and such to choose from, I always pick lemon bars.  But, I’m ashamed to admit, I had never made them.  Until now.  I’ve mentioned our neighbor Arnie (of Arnie’s Avocado Cilantro Hummus fame) and his Meyer lemons.  Well, I had an abundance of them so I decided to look for a lemon bar recipe and turned to the wonderful Smitten Kitchen cookbook.  (Have you bought it yet?  You really should.  Not only are the recipes wonderful, but the photography is gorgeous.  Food porn gorgeous.)

Whole Lemon Bars.  Deb Perelman says the recipe is based on her mom’s recipe that won first prize in a regional cooking contest.  You slice the lemons, take out the seeds, then add the slices (peel and all) to sugar in a food processor.  AND the entire recipe can be made in just that one bowl of the food processor!

Note:  if you are using a Meyer lemon, decrease the amount of sugar.  They are much sweeter than regular lemons.  Deb says she prefers them with regular lemons because she likes the tartness.  Next batch I’ll try regular lemons. 

Whole Lemon Bars

(adapted slightly from Smitten Kitchen)

INGREDIENTS

1 cup all-purpose flour

1/3 cup sugar

1/4 teaspoon table salt

8 tablespoons unsalted butter, cut in to chunks, plus extra for greasing pan

1 small to medium sized lemon (I used one of Arnie’s Meyers)

1 1/3 cups sugar (I decreased to 1 cup)

8 tablespoons unsalted butter, cut into chunks

4 large eggs

2 tablespoons cornstarch

1/4 teaspoon salt

DIRECTIONS

Place a rack in the middle of the oven and preheat your oven to 350 degrees. Cut two 12-inch lengths of parchment paper, and trim each to fit the bottom of an 8 inch square baking pan. Press the first sheet in to the bottom of your pan in one direction, then use the second sheet to line the rest of the pan, running it perpendicular to the first sheet. Lightly butter the exposed parts of parchment.

Blend the flour, sugar, and salt together in the work bowl of a food processor. Add the butter and pulse until the mixture is powdery, but if firmly pinched, will hold the pinched shape. Turn the dough crumbs into the prepared baking pan and press the dough evenly across the bottom and about 1/2 inch up the sides. Prick the dough all over with a fork and bake for 20 minutes, or until lightly browned. Should any parts bubble up, gently prick them again with a fork. Leave the oven on.

Cut the lemon in half. If the white pith is more than a 1/4 of an inch thick, you’ll need to remove it and the skin from one half of the lemon so that the bars aren’t too tart. (If you’re using a Meyer lemon, the skin is thinner and you should be able to skip this step!)  To remove the skin, place half of the lemon cut side down on the cutting board and remove the skin and pith in downward slices, working your way around the lemon.

Cut your lemon halves in to thick rings and discard the seeds. Toss the lemon rounds–whole–into the food processor. Add the sugar, then run the machine until the lemon is thoroughly pureed, about 2 minutes.

Add the butter and again run the machine until the mixture is smooth, scraping down the sides of the work bowl as needed. Add the eggs, cornstarch, and salt and pulse the machine in short bursts until the mixture is evenly combined.

Pour the lemon mixture over the crust and bake it for 35 to 40 minutes, or until the filling is set. You can test this by bumping the pan a little; it should only jiggle slightly. The bars should also start to get slightly brown on top.

Let the pan cool completely. Gently cut around the outside of the outside of the parchment paper to make sure no sides have stuck, then gently use the parchment “sling” to transfer the bars from pan to cutting board. Sprinkle with powdered sugar.

Cut into 16 squares.  Devour.  And then sing the Lemon Tree song.

Cashew Butter Balls

pecan butter balls

I’m not sure when I became such a cookie fan.  I think probably it had something to do with Smitten Kitchen’s Margarita Cookies.  Or maybe my friend Dale, the Cookie Queen.  She and her husband Chip (yes, Chip and Dale) are rugelach masters.  And Dale usually has an assortment of cookies in her freezer when you go to their house.

Just a sampling of Dale's cookies on one visit!

Just a sampling of Dale’s cookies on one visit!

Dale bought me Dorie Greenspan’s Baking: from My Home to Yours, which includes favorites like World Peace cookies, Chockablock cookies and Peanut Butter Oatmeal Chipsters.  Apparently SK’s Deb Perelman adapted her Margarita Cookies from Dorie’s recipe (but you knew that, didn’t you, because you read all about the cookies on this blog).

I am having a really difficult time trying to decide on my current favorite.  Every time I make a new recipe I’m convinced that one is my new favorite (i.e., Potato Chip Cookies, Oatmeal Pomegranate Chocolate Chip Cookies) and now Cashew Butter Balls from SK.  A little like Mexican Wedding Cookies. (Which, btw, are called polvorones in Mexico.  There’s a cooking show I catch occasionally called Pati’s Mexican Kitchen.  Pati was born and raised in Mexico City.  She posted a recipe for the cookies, but said she had never heard them called Mexican Wedding Cookies until she moved to the US.  She says she didn’t have them at her wedding or at any other Mexican wedding she’s ever attended!  Lol.)

Okay.  I digress.  Again.  So when I brought the Cashew Butter Balls to work to share, one person called them “Russian Tea Cakes”.  Another “Powdered Nut Balls”.  All are basically the same recipe, only this one is made (obviously) with cashews and I love cashews.  Could be my new favorite.  Lol.

Cashew Butter Balls

Makes about 40 cookies

INGREDIENTS

1 cup raw cashews
2 cups all-purpose flour
1/4 teaspoon table salt, or a heaped 1/4 teaspoon sea salt flakes
1 cup (2 sticks) unsalted butter, softened slightly, cut into chunks
2 cups powdered sugar, divided
1/2 teaspoon vanilla extract

DIRECTIONS

Heat oven to 350°F and toast cashews in a single layer until a shade darker, about 10 to 12 minutes. About halfway through the toasting time, toss the nuts around to redistribute them for even coloring. Let cool completely.

Place cooled cashews, flour and salt in the work bowl of a food processor and grind the mixture to a fine powder. Pour mixture into a bowl and set aside briefly.

Add butter and only 1/2 cup of the powdered sugar to the empty food processor and run the machine until the mixture is creamy and combined. Add the vanilla and mix. Add the nut-flour mixture and pulse the machine until it is just combined. Scrape the soft cookie dough back into the bowl that held the nut-flour mixture, cover it with plastic wrap, and refrigerate it until firm, about an hour.

[Do ahead: You can chill it in the fridge for up to 2 days, or in the freezer for longer.]

Heat your oven back to 300°F. Place remaining 1 1/2 cups powdered sugar in a wide bowl. Using your hands, scoop tablespoon-sized (about 1-inch round) balls of the chilled cookie dough into your palms and quickly roll them into little balls. Place them evenly on a parchment-lined baking sheet an inch apart. Bake 20 to 25 minutes, until they feel dry on the outside, but still quite soft. (Don’t fret!)

Let cool on sheets for a few minutes, then gently roll the hot cookies in the powdered sugar before transferring them to racks to cool completely.

Cookies keep in an airtight container for at least a week, probably two, though never at my place. They can be frozen for as long as you trust your freezer. They occasionally benefit from a fresh coating of powdered sugar before serving.

Salted Brown Butter Rice Krispie Treats

IMG_5420

I know…I know…if it’s not broke don’t fix it.  Rice Krispie Treats definitely don’t need fixing, but when I saw this recipe in the Smitten Kitchen cookbook, I just had to try them.  I love salty-sweet things (see Potato Chip Cookies and Margarita Cookies) and lately, I’ve loved anything with browned butter.  I made the most awesome Brown Butter Apple Tart not too long ago and last summer a Brown Butter and Raspberry Tart.

In the SK cookbook, we get a cute little history of Rice Krispie Treats… they were invented in 1928 by Mildred Day of the home economics department at the Kellogg Company.  What a genius Mildred was!  And such an easy little treat to make.  I think they may have been one of the very first things I learned to cook when I was maybe 12.  Do you remember that commercial where the mom is in the kitchen reading some steamy novel and there’s a plate of Rice Krispie Treats in front of her…her family is calling her from the other room and she’s like, “I’ll be right there.”  Then she finishes the book, splashes some flour on her face to make it look like she’s been slaving over these treats and then brings them into her family and they are all appreciative and think she’s just the best mom ever.  I loved that.

Okay, so back to these little gems.  Like I said, Mildred’s original recipe definitely doesn’t need fixing, but the addition of the nutty browned butter and just a smidgen of sea salt just elevates these to such a higher level.  I made them for a potluck at work a couple weeks ago and my coworkers are still talking about them.  (One even offered to pay me to make some for him!)  You’ll be thanking me (uh, Smitten Kitchen) for “fixing” these!!  I think even Mildred would be happy.

 Salted Brown Butter Rice Krispie Treats

Makes 16 2-inch squares or 32 1- x 2-inch small bars

INGREDIENTS

4 ounces (1/4 pound or 1 stick) unsalted butter, plus extra for the pan
1 10-ounce bag marshmallows
Heaping 1/4 teaspoon coarse sea salt
6 cups Rice Krispies cereal (about half a 12-ounce box)

DIRECTIONS

Butter (or coat with non-stick spray) an 8-inch square cake pan with 2-inch sides.

In a large pot, melt butter over medium-low heat. It will melt, then foam, then turn clear golden and finally start to turn brown and smell nutty. Stir frequently, scraping up any bits from the bottom as you do. Don’t take your eyes off the pot as while you may be impatient for it to start browning, the period between the time the butter begins to take on color and the point where it burns is often less than a minute.

As soon as the butter takes on a nutty color, turn the heat off and stir in the marshmallows. The residual heat from the melted butter should be enough to melt them, but if it is not, turn it back on low until the marshmallows are smooth.

Remove the pot from the stove and stir in the salt and cereal together. Quickly spread into prepared pan. You can use a piece of waxed or parchment paper sprayed with oil or spread with butter (even better, save the wrapper from the butter and use that!) to press it firmly and evenly into the edges and corners, though a silicon spatula works almost as well.

Let cool completely and then cut into squares.  Devour.

Oatmeal Pomegranate White Chocolate Chip Cookies

Remember I told you about the beautiful pomegranates my coworker Melissa has been bringing to work?  I’ve been using the seeds (they are actually called arils) in salads and cocktails, but I wanted to find a delicious way to feature them in a dessert or baked good.  I Googled and came across a few different variations of this oatmeal cookie.  I love oatmeal cookies.  I thought the seeds might be a little tart, but they’re not at all and they soften up a bit with baking.  And the white chocolate adds just a little extra sweetness.

Tony says they are his new favorite cookie.  And I brought a couple to my sister-in-law, who is not usually a fan of sweets (I know, crazy, huh?!), but she is fond of an oatmeal cookie (oh, and my Carrot Cake and my Double Chocolate Brownies).  She said they are her favorite cookie ever.  Good enough reviews?  I have to make another batch tomorrow.

 Oatmeal Pomegranate White Chocolate Chip Cookies

INGREDIENTS

1/2 cup unsalted butter, at room temperature
1/2 cup light brown sugar
1/2 cup white sugar
1 large egg
1 teaspoon vanilla extract
1 1/4 cup all purpose flour
1/2 teaspoon baking powder
1/2 teaspoon baking soda
1/4 teaspoon salt
1 cup old fashioned oats
1 cup white chocolate chunks (or chips)
1/2 cup pomegranate seeds (you can find seeds/arils at Trader Joe’s and at some supermarkets OR seed a whole pomegranate yourself…scroll down to end of recipe for directions)

DIRECTIONS:

Preheat the oven to 375 degrees F. Line a large baking sheet with parchment paper or a silicone baking mat and set aside.

In the bowl of a stand mixer, cream butter and sugars together until smooth. Add the egg and vanilla extract and mix until well combined.

In a separate bowl whisk together flour, baking powder, baking soda, and salt. Slowly add flour mixture to the wet ingredients. Mix until just incorporated.

Stir in the oats and white chocolate chunks. Gently stir in the pomegranate seeds. Make dough balls-about 1 tablespoon of dough per cookie. Bake cookies for 10-12 minutes, until the cookies are golden brown. Remove from oven and let cool on baking sheet for two minutes. Transfer to a wire rack to finish cooling.

If using a whole pomegranate – over a bowl (to catch any juices), cut the pomegranate into four pieces.  Then cover the pieces, in the bowl, with cold water and start pulling the seeds out with your hands.  The seeds will fall to the bottom and the “other stuff” will rise to the top.  Now remove the “other stuff” and drain the water.


Pumpkin Snickerdoodles

One of the things I love about fall is the plethora of pumpkin baked goods.  I make Pumpkin/Cream Cheese Bars.  I make a Pumpkin Roll with Cream Cheese & Toffee Filling for Thanksgiving.  I’ve made Pumpkin Cheesecake and Pumpkin Creme Brulee. I had a Pumpkin Bread Pudding in a restaurant recently that was out of this world.  So when my friend Leah Singer posted (or rather “re-pinned”) a recipe for Pumpkin Snickerdoodles, I couldn’t wait to make them!  I mean, who doesn’t love Snickerdoodles?  I printed the recipe and it was sitting on my kitchen counter.  Then I got really busy at work.  Then I got the mother of all colds.  Then the culmination of the really busy at work took place with a luncheon event for 200 that I had been planning for six months.  Oh, and did I mention I had the mother of all colds?  Bad timing.  The event was a success, regardless of how bad I was feeling…it’s amazing what sheer adrenaline can do.

I might interject at this point that I had been feeling so lousy that I really wasn’t doing much cooking.  And for me, the worst part about being sick is not feeling like cooking!  Cooking and baking are my stress relief, my therapy.  So I took a couple of days off and finally last weekend got back in the kitchen and baked the Pumpkin Snickerdoodles.  They are amazingly delicious (and, wow, did the house smell heavenly while they were baking!).  I love the addition of allspice in the sugar/cinnamon mixture for rolling the cookies in.  I’ve got to be honest though, they were a little “cake-y” for me.  I like a harder, more crumbly cookie, but the flavor made up for it.  I took them to work and shared them with my coworkers and everyone loved them.  And enough of them asked for the recipe, that I’m going to share.

Pumpkin Snickerdoodles

INGREDIENTS

For the cookies:

3¾ cups all-purpose flour

1½ tsp. baking powder

½ tsp. salt

½ tsp. ground cinnamon

¼ tsp. ground nutmeg

1 cup (2 sticks) unsalted butter, at room temperature

1 cup granulated sugar

½ cup light brown sugar

¾ cup pumpkin puree

1 large egg

2 tsp. vanilla extract

For the coating:

½ cup granulated sugar

1 tsp. ground cinnamon

½ tsp. ground ginger

Dash of allspice

DIRECTIONS:

In a medium bowl, combine the flour, baking powder, salt, cinnamon, and nutmeg. Whisk to blend and set aside. In the bowl of an electric mixer, beat together the butter and sugars on medium-high speed until light and fluffy, 2-3 minutes. Blend in the pumpkin puree. Beat in the egg and vanilla until incorporated. With the mixer on low speed add in the dry ingredients and mix just until incorporated. Cover and chill the dough for at least 1 hour.

Preheat the oven to 350˚ F. Line baking sheets with silicone baking mats or parchment paper. Combine the sugar and spices for the coating in a bowl and mix to blend. Scoop the dough (about 2½ tablespoons) and roll into a ball. Coat the dough ball in the sugar-spice mixture and place on the prepared baking sheet. Repeat with the remaining dough to fill the sheets, spacing the dough balls 2-3 inches apart. Dip the bottom of a flat, heavy-bottomed drinking glass in water, then in the sugar-spice mixture, and use the bottom to flatten the dough balls slightly. Recoat the bottom of the glass in the sugar-spice mixture as needed.

Bake the cookies for 10-12 minutes, or until just set and baked through. Let cool on the baking sheets about 5 minutes, then transfer to a wire rack to cool completely. Repeat with the remaining dough. Store in an airtight container.  And share with your coworkers.  They’ll love you for it.

Cambria, Paso Robles, Wine, Olive Oil and Chocolate Chip Cookies with Olive Oil and Sea Salt

Last weekend we went with a group of friends to Cambria (California’s central coast, north of San Luis Obispo, south of Big Sur).  It was really beautiful and a lot of fun.  One of the highlights was the day we spent in Paso Robles (the wine country just east of Cambria).  We hired a van and driver through the Wine Wrangler (or, as it was called by the end of the day, “The Wine Wangler”.  Lol.)  We stopped at Farmstand 46 for absolutely incredible gourmet sandwiches (I had the “Monte Carlo”…tuna, bouquerones, pickled egg, red onion and salt & vinegar potato chips on a French roll!  OMG…best tuna sandwich EVER) and ate in the art gallery at Castoro Cellars (incredibly beautiful vineyards and a superb Chardonnay).

One of the highlights of the day was visiting Kiler Ridge Olive Farm for olive oil tasting. Kiler Ridge is located on a hilltop, with 360-degree spectacular views of the valley and nearby vineyards.  Owner Gregg Bone is a retired chemist and boy, oh boy, did we learn a lot about olive oil!  He told us that olive oil has three main flavor characteristics:  bitterness, pungency and fruitiness.  And that time and exposure to light are enemies of olive oil and its beneficial triglycerides, so buy smaller bottles of olive oil and store them in a dark, cool place.

But let’s back up a month or so to when we were planning the Wine Wrangler outing.  I had researched a few vineyards and emailed everyone about olive oil tasting.  Everybody was game.  One of the full gastro-touristing experiences offered at Kiler Ridge is tasting vanilla ice cream with olive oil and sea salt.  A few friends in our group weren’t so keen on that.  They thought it sounded weird.  I agreed that it sounded weird, but would venture to say that its really delicious.

Which, of course, got me thinking that there must be some incredible baked good using olive oil and sea salt, that I could bake and bring up to share with everyone.  So I found a recipe for Chocolate Chip Cookies with Olive Oil & Sea Salt.  What the heck.  I decided to give them a try.  To be honest, after making the “dough”, I was really nervous.  It was so gloppy (is that a word?) and oily-looking.  I figured they’d spread all over the pan when put in the oven.  They didn’t!  They firmed right up into lovely golden cookies.  So I froze them and brought them with me.  After eating our lunch at Castoro, I brought out the cookies.  Everybody loved them.  The olive oil just gives them a sort of earthy deliciousness.  And the sea salt just adds that extra little “zing”.

Okay, so now back to Gregg at Kiler Ridge.  About five minutes into his talk, as he’s explaining the differences between real extra virgin olive oil compared to the stuff that’s commercially pressed and bottled by the big name brands, I was feeling a little bad about my chocolate chip cookies.  Okay, only a little bad.  We all still thought they were delicious (in fact, we managed to eat every last one), though we did nickname them “the tainted chocolate chip cookies”.  I’m just glad I didn’t offer one to Gregg!

And I am definitely down with trying the vanilla ice cream with olive oil and sea salt!

Chocolate Chip Cookies with Olive Oil & Sea Salt

INGREDIENTS

1 cup extra virgin olive oil (Besides the obvious, Kiler Ridge, Gregg also recommends California Olive Ranch and Costco’s Toscana brands.)

3/4 cup sugar

3/4 cup packed brown sugar

2 eggs

1 tsp vanilla

2 1/2 cups flour

1 tsp salt

1 tsp baking soda

2 cups semi-sweet chocolate chips

1 cup chopped pecans

coarse sea salt

DIRECTIONS

Preheat oven to 375 degrees

In a small bowl, whisk together flour, soda, and salt.

In a larger bowl, “cream” olive oil and sugars. It will get soupy, but it won’t really get fluffy like it does with butter. Add the eggs one at a time, beating thoroughly after each addition and then add the vanilla. Now you can put the mixer on high for a minute, just to fluff the eggs out, but don’t do it for too long because olive oil can turn bitter if over worked.

Add flour gradually

Stir in chocolate chips and nuts

Scoop out blobs of cookie dough (about two tablespoons) onto ungreased cookie sheets. No need to flatten these will melt into gorgeous little blobby puddles.

Sprinkle a smidgen of coarse sea salt on top of each cookie.

Bake for about 10 minutes, until just lightly browned.

Let cool on pans for a few minutes, then transfer to wire racks to cool (or, whatever, start eating them warm!)  And they freeze beautifully!