Old-fashioned Chocolate Cake (aka Tony’s Birthday Cake)

IMG_5529

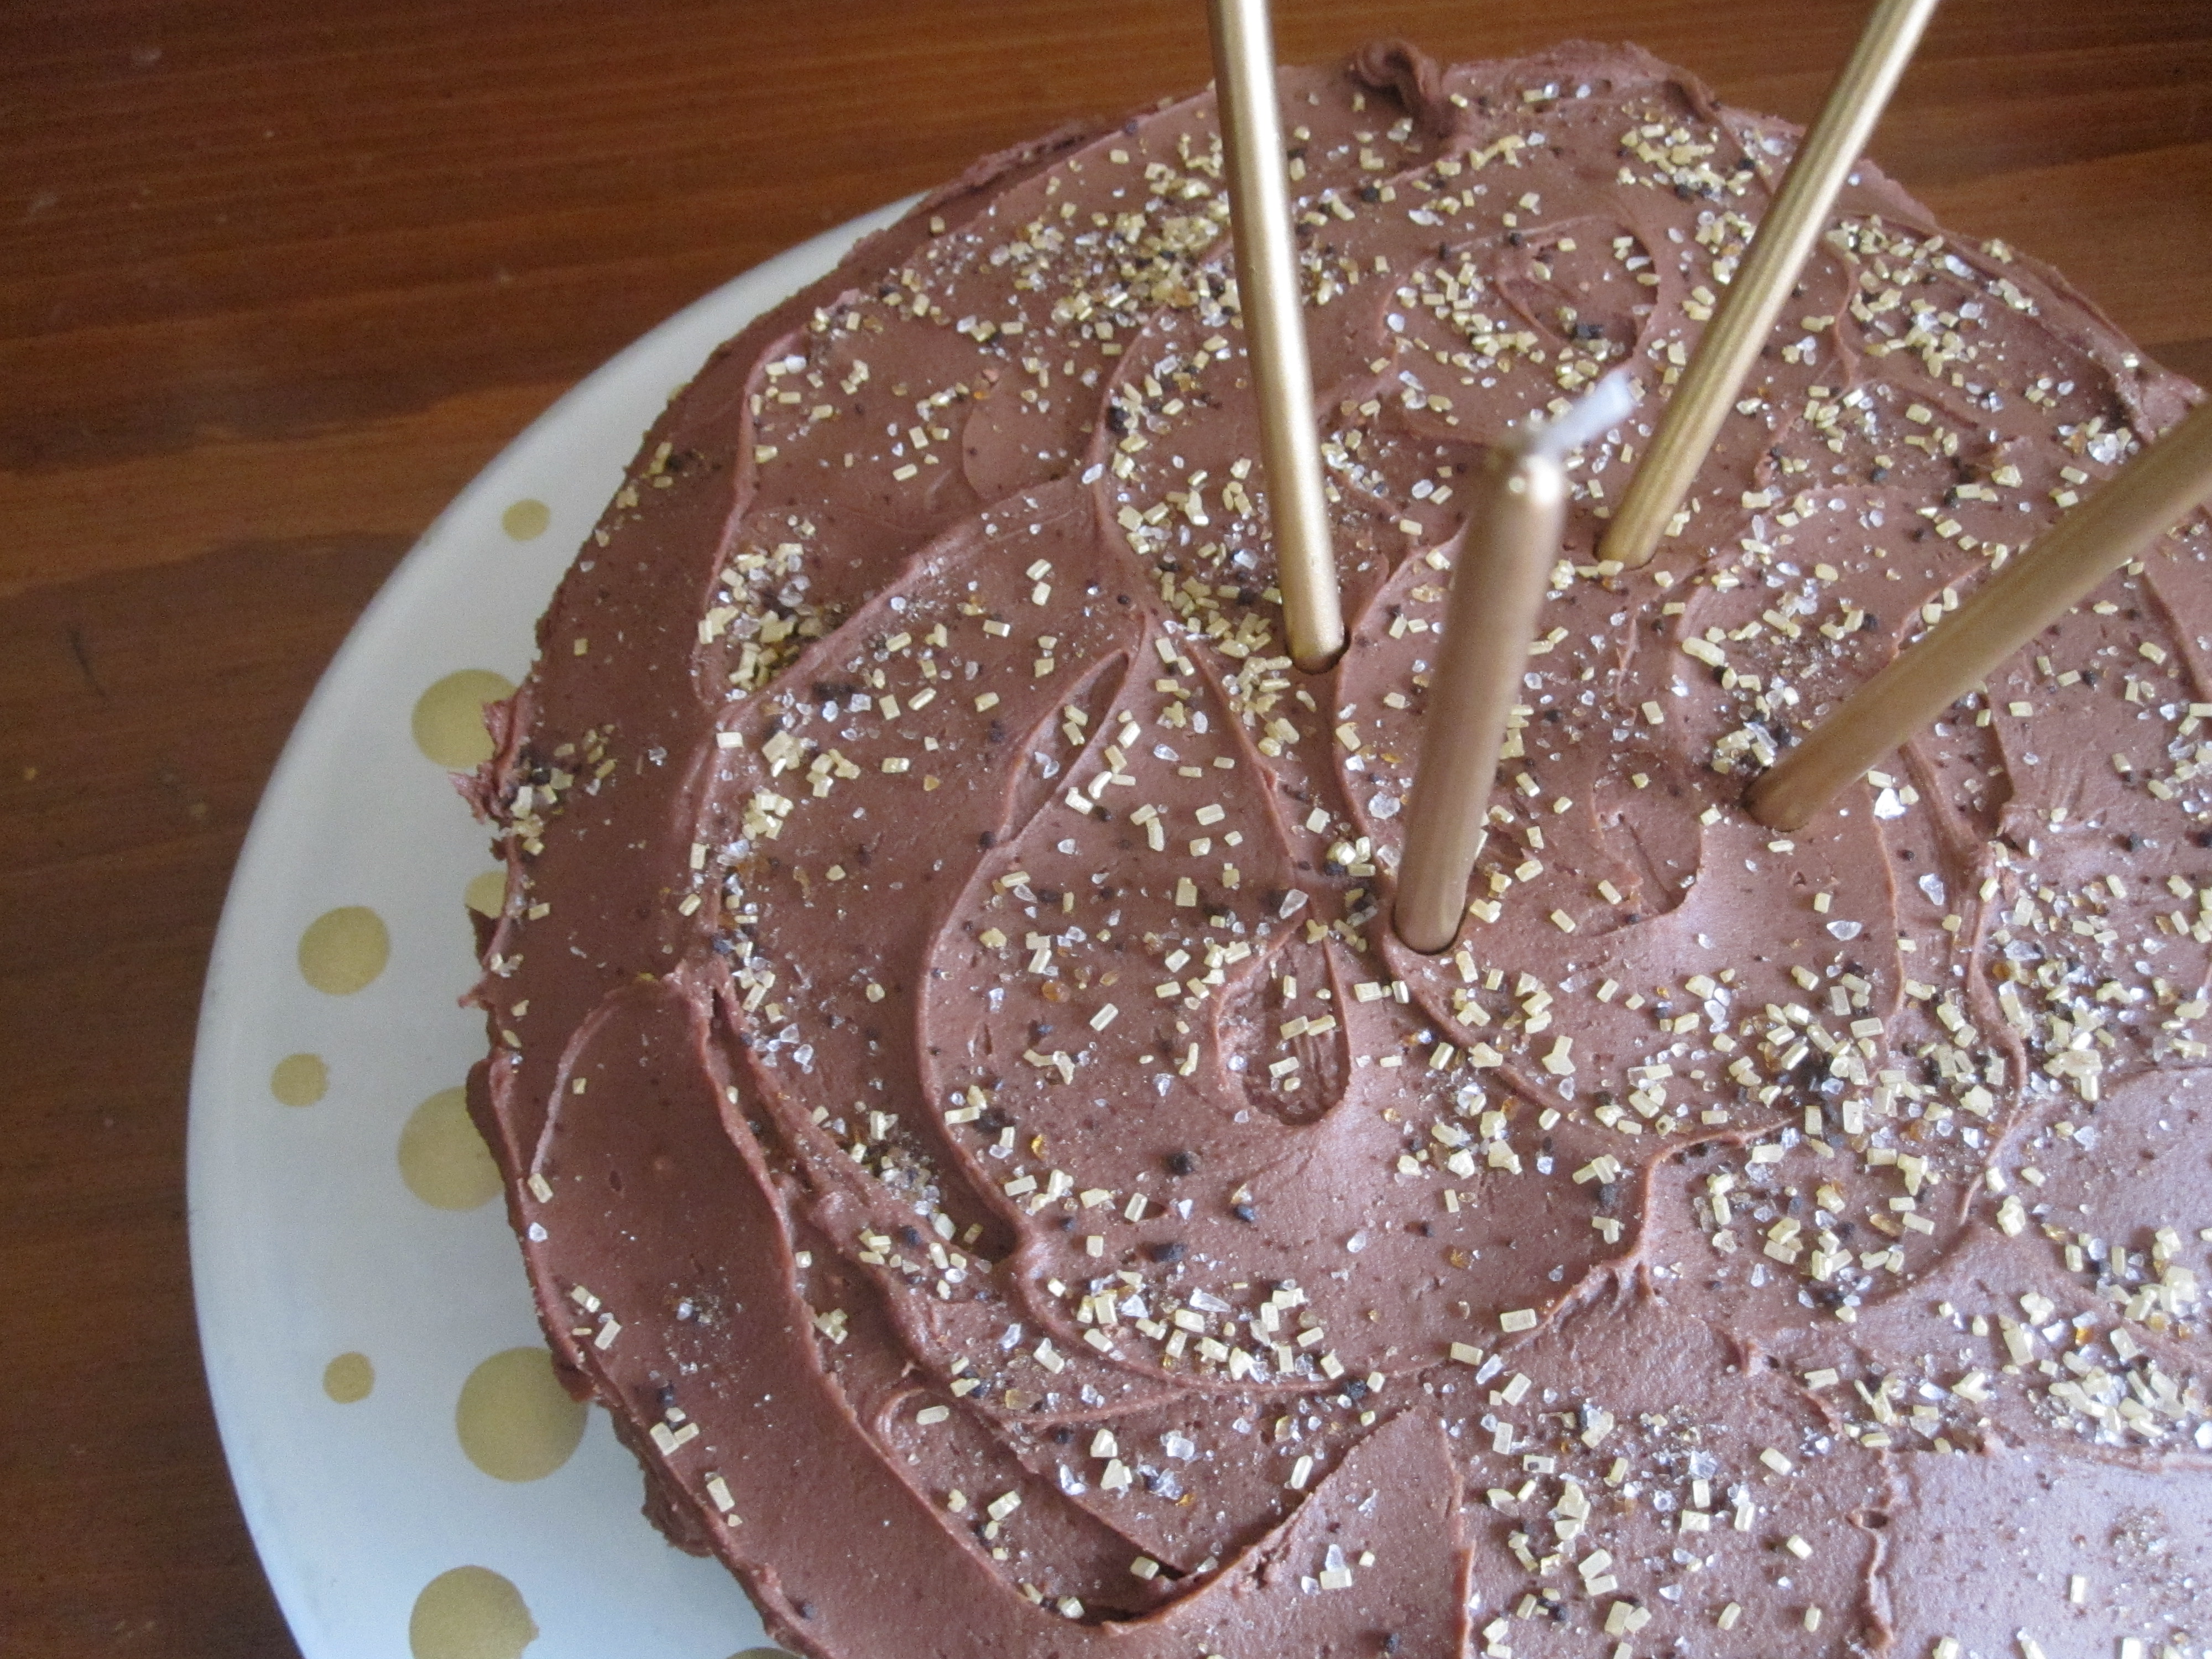
Tony loves chocolate cake.  So when I first saw this recipe in Bon Appétit in September 1995, I knew that I’d make him one for his birthday that December.  And I did.  And he loved it.  And I’ve been making it for his birthday just about every year since.  It really is just a good “old-fashioned chocolate cake”.  It’s rich and moist and chocolatey and dense and pretty darn simple.  I love the addition of chocolate chips in the cake.  And the cocoa frosting is thick and fudgey…I could eat it off a spoon (and often do!)  And I love that it’s three layers!  It’s become a family favorite and a great birthday tradition.

IMG_5560

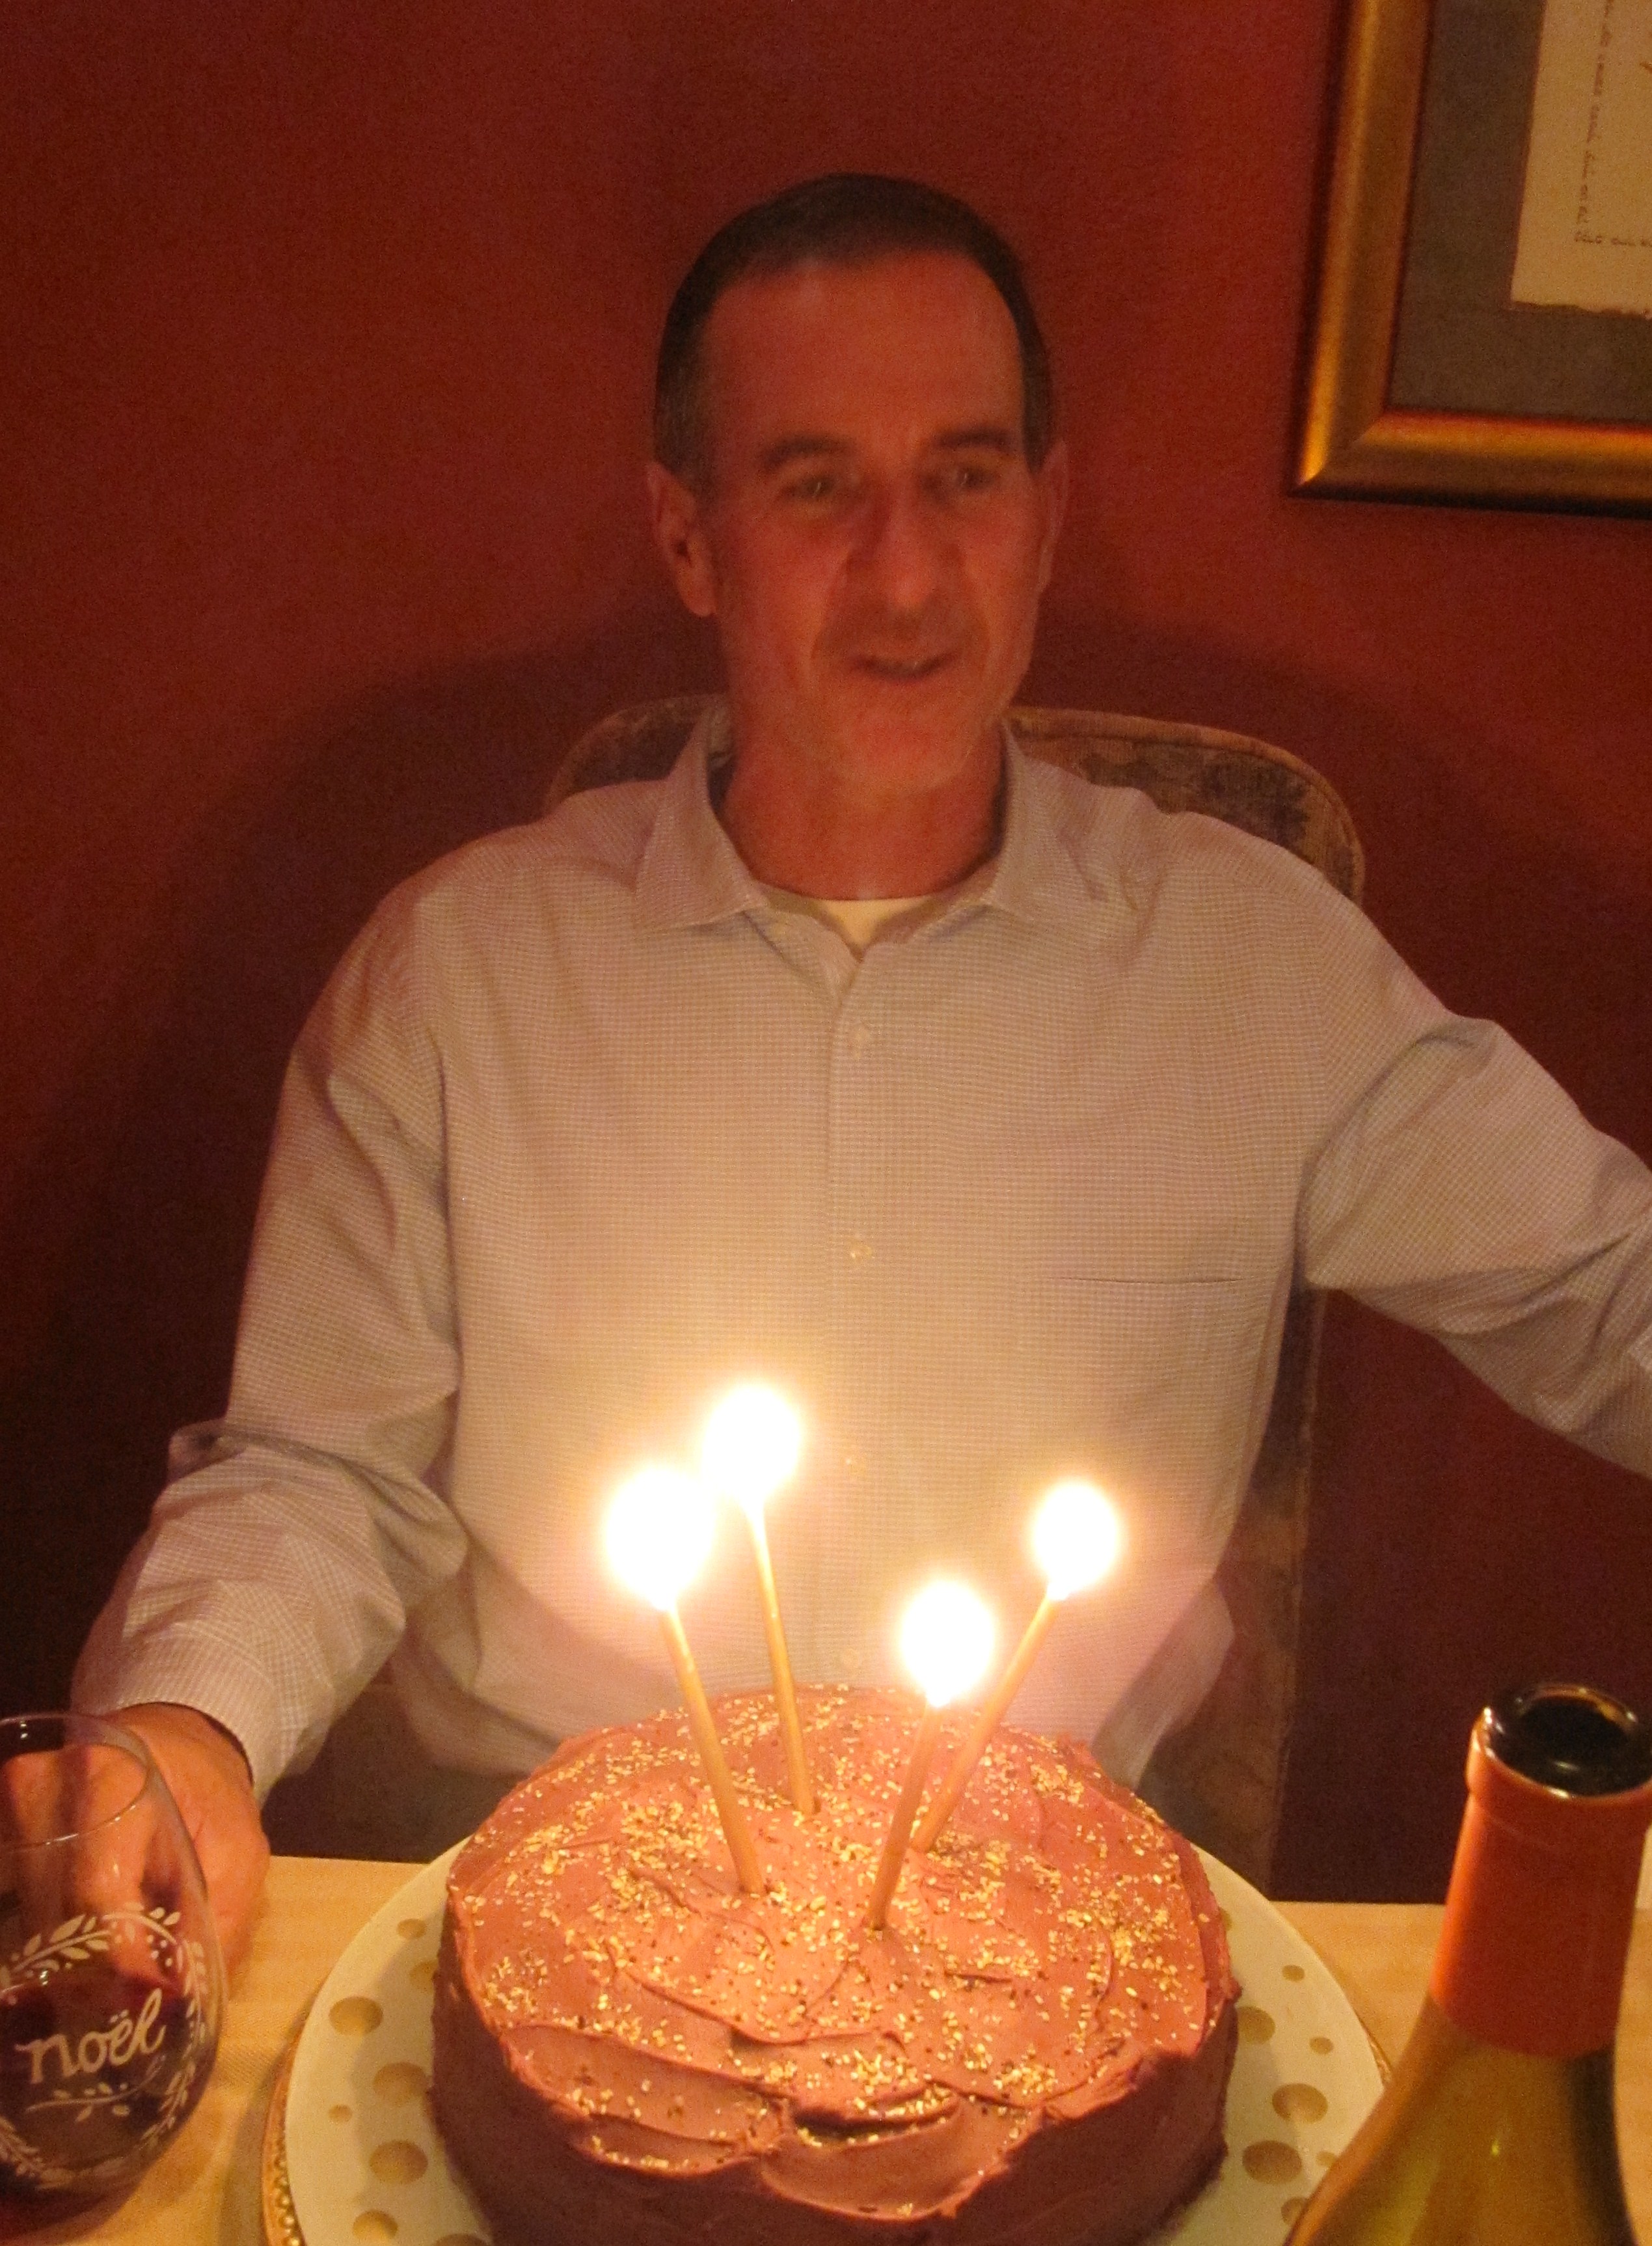
The Birthday Boy with his birthday cake

Silver Creek Pictures 076

For his 50th…made it into a quarter-sheet sized cake with a cute picture of little Tony

PS  The day after his birthday this year, our son Kyle’s friend Steven was over and was eyeballing the one leftover slice.  It was hard to give it up, but I did.  This was the text he sent later, “Dude.  Tell ur mom I wish it was my b-day so she could make me one of those chocolate cakes.  Good lord!  Best chocolate cake I’ve ever had.”  Steven’s birthday is May 31.

 OLD-FASHIONED CHOCOLATE CAKE WITH COCOA FROSTING

For cake
3 cups all purpose flour
2 cups sugar
1/2 cup unsweetened cocoa powder
2 teaspoons baking soda
1 teaspoon salt
2 cups cold water
1 cup corn oil
1 tablespoon vanilla extract
1 1/2 cups semisweet chocolate chips

For frosting
1/2 cup plus 2 tablespoons (1 1/4 sticks) unsalted butter, room temperature
5 cups powdered sugar
8 tablespoons (about) whole milk
1 1/4 teaspoons vanilla extract
3/4 cup plus 3 tablespoons unsweetened cocoa powder

Make cake:
Preheat oven to 350°F. Butter and flour three 9-inch-diameter cake pans with 1 1/2-inch-high sides. Sift first 5 ingredients into medium bowl. Mix water, oil and vanilla in large bowl. Whisk in dry ingredients. Divide batter among pans. Sprinkle 1/2 cup chocolate chips over batter in each pan.

Bake cakes until tester inserted into center comes out clean, about 25 minutes. Cool cakes in pans on racks 15 minutes. Cut around pan sides to loosen cakes. Turn cakes out; cool completely.

Make frosting:
Beat butter in large bowl until fluffy. Gradually beat in 3 cups sugar. Beat in 6 tablespoons milk and vanilla. Add cocoa and remaining 2 cups sugar; beat until blended, thinning with more milk if necessary.

Place 1 cake layer, chocolate-chips side up, on platter. Spread 2/3 cup frosting over. Top with second cake layer, chocolate-chips side up. Spread 2/3 cup frosting over. Top with remaining cake layer, chocolate-chips side down. Spread frosting over sides and top of cake.

(Can be made 1 day ahead. Cover with cake dome; let stand at room temperature.)

Peanut Butter Butterfinger Cookies

2013-11-17 004

A couple of months ago I went to this event at the San Diego Public Market called Cake Bake 2013.  It was a fundraiser to benefit No Kid Hungry.  There were booths featuring sweets for sampling from some of San Diego’s best bakers.  They had a Bake Sale and a Cake Walk (y’know, you’d think I would’ve learned…I never won a single thing in any cake walk at any of those Halloween carnivals when I was in elementary school and my luck didn’t change now.  Oh well, it was for a good cause). 

I discovered two really wonderful bakers that I hadn’t heard of.  Under the Crust…Hannah makes adorable and delicious “sweet & savory handcrafted mini pies” and sells them out of converted vintage pick up truck.  And The Cravory…really yummy cookies that you can actually have delivered to your home!  I, of course, left will a half dozen cookies…among them Lemon Bar, Ultimate Chocolate Chip, Rosemary Balsamic and a couple of their “Flavors of the Month”.  My very favorite was the PB Butterfinger…a peanut butter cookie with Butterfingers and Reese’s Peanut Butter Cups.  Holy Moly.

So, Halloween rolls around and I buy Reese’s, Snickers and Butterfingers (so what if I happen to buy my favorite candies??) to hand out to our trick-or-treaters. Well, the peanut butter cups were the first to go, but we did have a few leftover Snickers and Butterfingers, so I decided I’d use the Butterfingers to make my own Cravory-inspired cookies.  I spent a fair bit of time online trying to find a recipe for a peanut butter cookie with Butterfingers.  There were plenty of just regular chocolate chip variety recipes, but not many with peanut butter cookie dough (not sure why I didn’t just look in my favorite Dorie Greenspan Baking cookbook and use her peanut butter cookie recipe, but I didn’t think of it until the cookies were in the oven!  Sorry Dorie.)

1425761_606624326070801_1980419434_n

I found this one at My Baking Addiction (I loved the look of the blog…great photos and graphics).  I questioned the use of just egg whites, not whole eggs, but they turned out great.  Really great, in fact.  I really like that they are not too soft, not too hard, just right.  Might be my new favorite cookie (in fact, Tony said they are his new favorite!)

Would they have been better with Reese’s Peanut Butter Cups in them too?  Perhaps.  Next Halloween I’ll make sure to set aside some of those too. 

As Bart Simpson would say, “nobody better lay a finger on my (peanut butter) Butterfinger (cookie)!!”

Peanut Butter Butterfinger Cookies

(adapted from http://www.mybakingaddiction.com)

INGREDIENTS

1/2 cup unsalted butter, softened
3/4 cup white sugar
2/3 cup lightly packed light brown sugar
2 egg whites
1 1/4 cups crunchy peanut butter (I used smooth because that’s what I had in the pantry)
1 1/2 teaspoons pure vanilla extract
1 cup all-purpose flour
1/2 teaspoon baking soda
1/4 teaspoon salt
5 (2.1 ounce) Butterfinger candy bars, chopped (I used about 8 Halloween-sized bars; I think 5 regular-sized would be a lot)

 DIRECTIONS

Preheat oven to 350°. Line baking sheets with parchment paper.

In the bowl of a stand mixer fitted with the paddle attachment or in a large bowl with an electric mixer, cream the butter and sugars together until light and fluffy. Add the egg whites and beat well. Beat in the peanut butter and the vanilla, mixing until well combined.

In a small bowl, combine the flour, baking soda, and salt. Add the dry ingredients into the creamed mixture and mix until just combined. Stir in the chopped candy bars.

Using a medium cookie scoop (about 1 ½ tablespoons) shape dough into balls and place on the prepared baking sheets.

Bake in preheated oven for 10 to 12 minutes or until golden brown. Remove cookies from oven and allow them to cool for about 5 minutes on the cookie sheet before moving them to a cooling rack.

Caramelized Onion & Chanterelle Mushroom Tart

2013-11-13 003

Last month we were in Portland, OR, visiting our son Kyle and daughter-in-law (still just love saying that!) Calla.  It was blustery and rainy and very fall-like, which was a nice change for us, because when we left San Diego it was like 80 degrees.  Leaves were changing colors and we got to wear sweaters and boots and raincoats (and, believe me, for a San Diegan, this is exciting stuff!)

2013-11-07 08.35.37

So what does one do in Portland when it’s grey and a little rainy?  Go foraging for chanterelle mushrooms! And now I have to preface this story by saying that every year, around this time, Kyle starts calling us just to brag about the tens of pounds of chanterelle mushrooms they’ve foraged.  I get a little envious. Some culinary experts call chanterelles the “king of mushrooms”.  According to thekitchn.com, “…they sprout from September to February, and grow wild in woodsy areas. They’re difficult to cultivate, but they sprout easily from forest floors….they have a firm flavor and texture and stand up to cooking and heavy sauces very well. The aroma of a chanterelle is sometimes described as being like a fresh apricot. A warning, though. Chanterelles are expensive!”  (Are they ever!  I bought them once.  At that high-end natural foods market.  $24.99 a pound!)

Okay, back to the foraging…Kyle and Calla and their roommate Jesse are quite the mushroomers. They have several “secret” spots around Portland.  Kyle took us to one of them.  We didn’t find a lot, but enough.  And it was really fun.

2013-11-07 12.33.05

Father-son foraging team!

That night, we made dinner at the kids’ place.  We decided that we would use the chanterelles that they already had in the fridge so that Tony and I could bring the ones we foraged back to San Diego with us.  Kyle pulled out his favorite recipe…pappardelle pasta with a chanterelle mushroom and lamb ragout and I made Kale and Brussels Sprouts Salad.  Yu-um!!  What a delicious dinner and a really fun evening that culminated with Kyle, Calla and Jesse’s band Gallop  practicing in the living room and Caramel Salted Dark Chocolate ice cream from nearby Ruby Jewel.  Doesn’t get much better than that!!

1393688_10202708541379667_1346551783_n

Gallop. Calla has a voice like an angel. Really.

When we got home with our little bounty of mushrooms, I was super excited to try a recipe I had clipped from Relish magazine a month or so prior…Caramelized Onion-Chanterelle Tart. Of course, when I first saw it, knowing that our little mushroomers had an abundance of them, I scanned it and sent it to Kyle, who made it the very same night and said it was delicious.  After our own foraging expedition, I could hardly wait to try it myself!

2013-11-13 001

Well, it was worth the wait.  Kyle was right, it was delicious. I mean, really delicious!  The combination of flavors is incredible…savory-sweet onions and earthy mushrooms, Dijon mustard and Gruyere cheese.

Of course, you can make this with any kind of mushroom. But how cool is it that we actually foraged the mushrooms we used???  Forest to table!!

Caramelized Onion & Chanterelle Mushroom Tart

INGREDIENTS

1 refrigerated pie crust
1 tablespoon Dijon country-style (course-grain) mustard
2 tablespoons butter, divided
2 medium onions, sliced lengthwise
Sprigs of fresh thyme
4 ounces chanterelle mushrooms (or your favorite mushroom) sliced lengthwise
2 large eggs
1 cup half-and-half
1 cup shredded Gruyere cheese
1/4 teaspoon sea salt
Freshly ground black pepper

DIRECTIONS
Preheat oven to 350°.

Roll out pie crust to fit in a 12-inch tart pan. Place in pan and press into the sides. Coat surface with mustard. Bake 10 minutes. Let cool.

To prepare filling, melt 1 tablespoon butter in a deep skillet over medium heat. Add onions and sauté 15 minutes. Add salt, pepper and thyme leaves. Scrape into a small bowl.
In the same skillet, melt remaining butter. Add mushrooms and cook 10 minutes. Remove from heat.

Combine eggs and half-and-half and beat until well blended.

Sprinkle about half the cheese on the bottom of tart shell. Spoon in onions. Pour in egg mixture. Place mushrooms all over the top, along with remaining cheese.

Bake 40 minutes, or until tart is golden brown and filling is set. Serve warm or at room temperature. Serves 12.

Butter-Roasted Tomato Sauce

2013-10-27 002

The November/Thanksgiving issue of Bon Appétit is my second favorite issue (first being July’s “Barbecue”).  But this November, it wasn’t a Thanksgiving recipe that caught my attention.  It was this tomato pasta sauce recipe.  The description read, “Roasting coaxes depth from canned tomatoes, instilling a long-cooked flavor. A generous amount of garlic and anchovies adds even more character.”  Hmmmm.  I was pretty skeptical when I read through the recipe…I thought it actually looked too easy (and didn’t have enough ingredients) for that to be true.  Plus, one of the few ingredients is anchovies (read on).  But I know that one of our favorite restaurants when we visit our son in Portland, Nostrana, makes a gnocchi with butter tomato sauce, so I decided to try it.

Just FYI, usually if a recipe calls for anchovies, I leave them out.  But I guess I’m getting a little braver in the trying-foods-you-always-thought-you-hated department in my old age so I decided to go for it.  And, I’ve reading a lot lately about anchovies adding “umami” (you know, “Umami /uːˈmɑːmi/, a savory taste, is one of the five basic tastes…together with sweet, sour, bitter and salty”).  And FYI again, did you know that Worcestershire sauce is made from anchovies?  And I happen to really like Worcestershire. Alright. I’ll add the anchovies.

But back to the tomato sauce.  Once again, BA did not disappoint.  This is so unbelievably easy and delicious.  It takes almost no time to make and you’d think it had been simmering in a pot all day. Honestly the best tomato sauce I’ve ever had.  I don’t believe I’ll ever simmer again!  And, yes, I’ll be adding the anchovies.

Butter-Roasted Tomato Sauce

Bon Appétit, November 2013

INGREDIENTS

1 28-ounce can whole peeled tomatoes

8 garlic cloves, peeled, crushed

2 anchovy fillets packed in oil

1/4 cup (1/2 stick) unsalted butter, cut into small pieces

1/4 teaspoon crushed red pepper flakes plus more for serving

Kosher salt, freshly ground pepper

12 ounces bucatini or spaghetti

Finely grated Parmesan (for serving)

DIRECTIONS

Preheat oven to 425°F. Combine tomatoes (crushing them with your hands), garlic, anchovies, butter, and 1/2 teaspoon red pepper flakes in a 13×9″ baking dish; season with salt and black pepper.

Roast, tossing halfway through, until garlic is very soft and mixture is very thick, 35–40 minutes. Using a potato masher or fork, mash to break up garlic and tomatoes. (I mixed it a little bit with my hand blender.)

Meanwhile, cook pasta in a large pot of boiling salted water, stirring occasionally, until al dente. Drain, reserving 1/2 cup pasta cooking liquid.

Return pasta to pot and add tomato sauce and pasta cooking liquid. Cook over medium-high heat, tossing until sauce coats pasta, about 3 minutes. Serve topped with Parmesan and more red pepper flakes.

DO AHEAD: Tomato sauce can be made 4 days ahead. Let cool; cover and chill. Reheat before mixing with pasta.